Why You Need More Than One Link in Your Bio
You just posted a new TikTok video. Your followers are excited and want to check out your YouTube channel, shop your merch, or listen to your Spotify playlist. But Instagram and TikTok only let you put one link in your bio. You have to pick the most important link, and your followers miss out on everything else you offer. This is where knowing how to create a bio page comes in. A bio page is a single link that holds all your important links in one place. When someone taps the link in your bio, they see a page with buttons for every link you want to share. According to HubSpot, 73% of social media marketers say link management tools help them boost how people interact with their content. This guide will show you exactly how to create a bio page from scratch, even if you’ve never built a website before.
What a Bio Page Actually Does
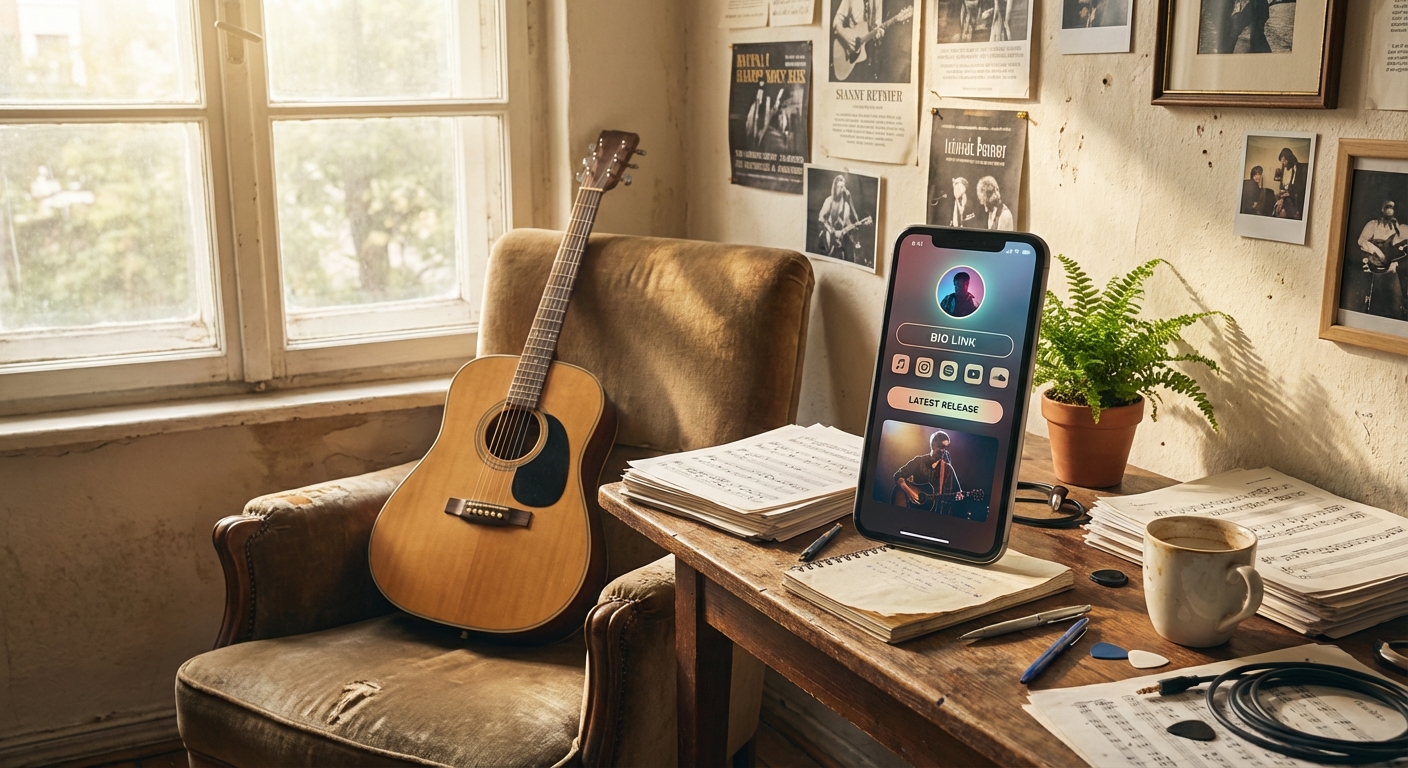
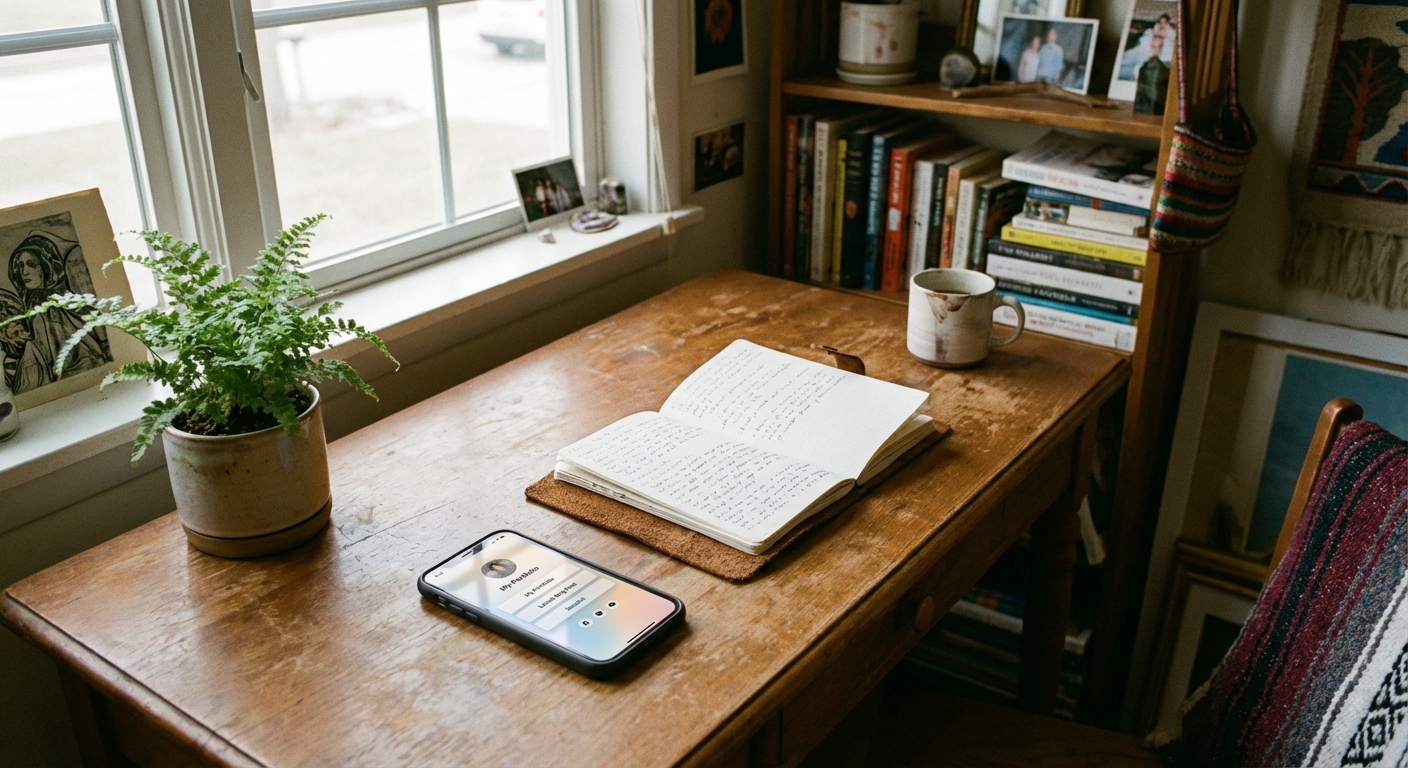
A bio page is a single web page made just for your social media profiles. It shows your photo or logo at the top, a quick intro about who you are, and a list of clickable buttons that send people to different places. Each button can go to your shop, your latest video, your email signup, or your music. You get a unique web address for your bio page. Paste that address into your Instagram bio, TikTok profile, or YouTube description. When someone clicks it, they go straight to your bio page and can pick what to check out next. You can update your links anytime without changing the link in your social profiles. This means you never have to edit your Instagram bio again just to promote something new.
Choosing the Right Tool to Create a Bio Page for Free
You have two main ways to make a bio page. You can code one yourself, or you can use a tool that does the hard part for you. Most people, especially if you’re just starting, will want a tool that makes it easy and fast. Look for one that has a free plan and doesn’t ask for credit card info just to try it out. The best tools let you add as many links as you need, customize colors and fonts, and see basic stats so you know what your followers click. Some even give you a QR code so you can put your bio page anywhere, like on flyers or business cards. Platforms like Linkx.ee let you create a bio page free, offering all these features on a free plan. You don’t need any tech skills or money to get started.
How to Create a Bio Page Step by Step
Creating your bio page only takes about five minutes when you follow a clear process. This build bio page tutorial will show you every step using a bio page tool, so you can launch your page today with zero coding.
Step 1: Sign up for a free account. Go to your chosen bio page tool and sign up with your email. Most send a confirmation message—click the link to verify. You’ll land on your dashboard or a setup screen ready to go.
Step 2: Claim your custom URL. Your bio page needs its own web address. Pick a username or handle—this will be part of your link, like linkx.ee/yourname. Make it short, memorable, and ideally the same as your Instagram or TikTok for easy recognition.
Step 3: Add your profile info. Upload a profile picture. Use the same photo as your main social accounts so visitors know it’s you. Write a one-sentence bio that says who you are and what you do. Keep it short and clear, like 'Artist sharing daily sketches' or 'Travel vlogger exploring new cities'.
Step 4: Add your first links. Hit 'Add Link' or 'New Button'. Paste the full URL of the place you want people to visit, like your YouTube channel or Etsy shop. Add a label for the button, such as 'Watch My New Video' or 'Shop My Favorites'. Do this for each link you want on your page.
Step 5: Put your links in order. Most tools let you drag and drop links to reorder them. Put your most important link at the top. If you’re running a sale, that link goes first. If you want more YouTube subscribers, put your YouTube link up top.
Step 6: Customize your design. Open the design or theme settings. Choose a background color that fits your brand. Pick a button style and color that stands out. Keep it simple—high-contrast colors are easy to read. Match your brand’s colors if you have them, or use clean combos like white with black buttons or soft pastels with dark text.
Step 7: Preview and publish. Click the preview button to see how your bio page looks on a phone—most people will visit on mobile. Test every link to make sure they work. If everything looks good, hit publish. Your bio page is now live at your custom URL.
Where to Place Your Bio Page Link
After you publish your bio page, you need to add the link to all your social profiles. Each platform is a bit different, but it’s quick on all of them. On Instagram, tap 'Edit Profile' and paste your bio page URL in the 'Website' or 'Links' section, then tap 'Done'. On TikTok, tap your profile icon, then 'Edit Profile', and find the 'Website' field—paste your link and save. On YouTube, go to channel customization and add your bio page URL to the links area. You can also share your link in video descriptions, email signatures, or turn it into a QR code for business cards and flyers. The more places you share your bio link page, the more visitors you’ll get.
Beyond social profiles, think about where your audience might look for you offline. Putting your bio page link on physical materials like event banners, product packaging, or even stickers can broaden your reach. You can also include it in your email newsletter to provide a central hub for new blog posts, announcements, and special offers.
What Links to Include on Your Bio Page
The links you add depend on your goals, but some always work well. Start with your main content platform—if you make videos, link your YouTube or TikTok. If you write, link your blog or Medium page. If you sell things, link to your shop. Next, make it easy for people to contact you or join your community, like your email list signup, Discord server, or a contact form. Email marketing gives great results: according to HubSpot, 73% of social media marketers say link management tools help them boost how people interact with their content. If you have something new to push, like a fresh video, limited-time sale, or special collab, add a temporary link at the top. Update this link often to keep your bio page setup guide fresh and give people reasons to come back. Don’t overload your page at first—three to five links is a good start. It keeps things simple and helps visitors see what matters most. Add more as you grow, but test which links get the most clicks before adding too many.
Common Mistakes to Avoid When You Make a Bio Page
New creators often trip up on a few things that cost them clicks and confuse people. Knowing these mistakes ahead of time helps you set up a better bio link page step by step. One mistake is using button labels that don’t tell people what to expect. A button that just says 'Click Here' or 'Link' is confusing. Be specific—labels like 'Download My Free Guide' or 'See My Art Portfolio' help visitors know exactly what they’ll get. Another issue is broken links. Before you go live, test every button. Click each one to make sure it works. Broken links frustrate people and make you look unprofessional. Check your links every few weeks, especially if you’re updating links often. Sometimes creators forget to update their bio page when their content changes. If your top button links to a video from months ago, your followers will notice. Keep your bio page current and swap out old links when you have something new. Avoid making your bio page look cluttered with too many colors, fonts, or images. Stick to two or three colors and one easy-to-read font. A simple, clean bio page always gets more clicks because it’s easy to use.
Another common error is not matching your bio page's look with your main brand identity. If your social media profiles use specific colors or a certain style, carry that over to your bio page. Consistency helps your audience recognize your brand instantly and builds trust. A mismatched design can make your page feel disconnected, potentially causing visitors to leave early.
How to Track What Works on Your Bio Page
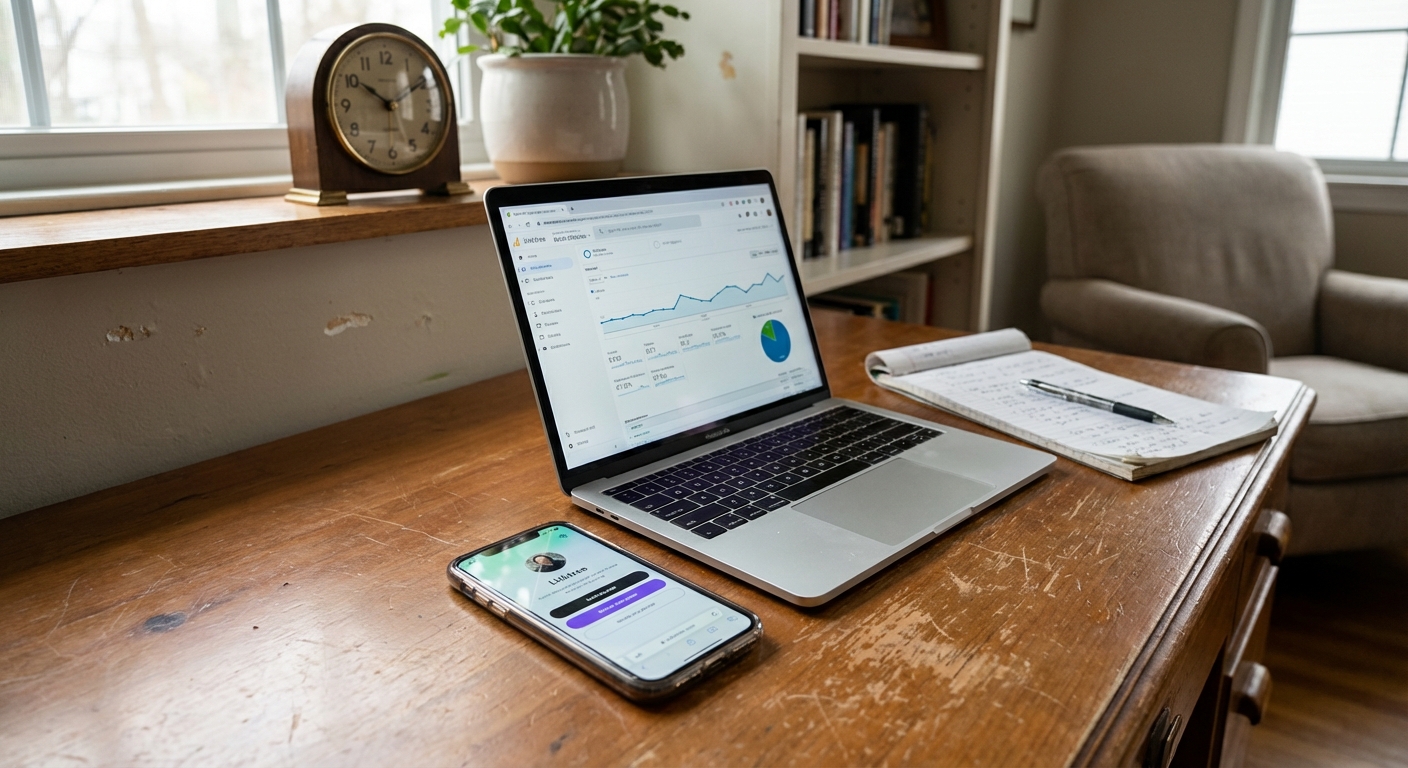
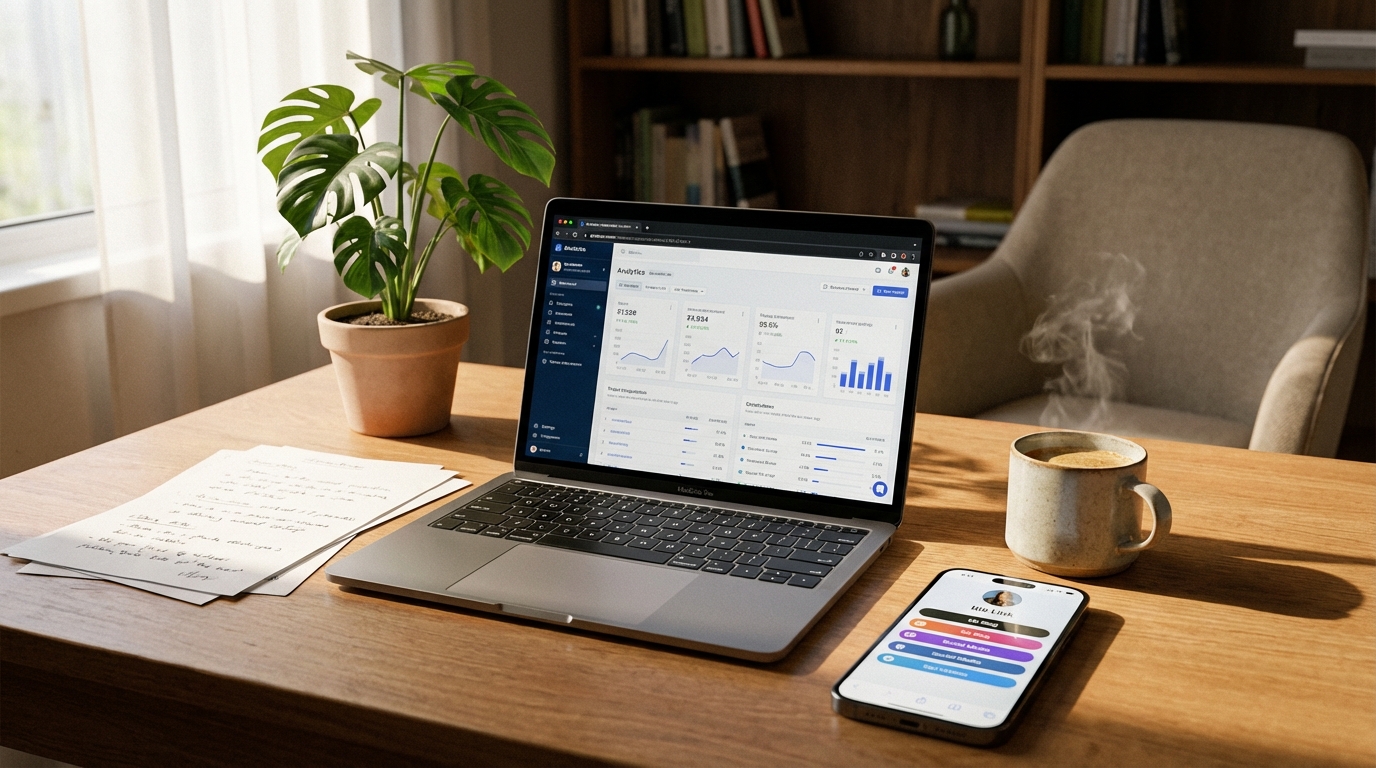
Once your bio page is live, you’ll want to know which links your audience clicks most. This helps you decide what content to make more of, and which links should be at the top. Most bio page tools come with basic click tracking right in the dashboard. Log in to your account and look for analytics or stats. You’ll see each link with a number showing how many clicks it’s had. Some tools also show you total page views, so you know how many people visited overall. Keep an eye on your click-through rate—the percent of visitors who click at least one link. If 100 people visit and 30 click, your rate is 30%. A good click-through rate for a bio page is usually between 25% and 40%. If yours is lower, try changing your button labels or moving your links around. Check your stats every week. Look for patterns. If one link always gets more clicks, maybe you should create more content like that. If a link never gets clicks, ask yourself if it belongs on your page or if the label could be clearer.
Ways to Promote Your Bio Page
Building your bio page is only the first step. You also need people to visit. The more visits, the more clicks your links will get. Start by mentioning your bio page in your content. If you post a TikTok or Instagram video, say something like, 'Check the link in my bio for more details' or 'Shop this look using the link in my bio'. Remind your audience that all your important links are in one spot. Add a note in your captions too, like 'Find all my links in bio' at the end of your posts. Make this a habit so your followers always know where to go. When you work with other creators, ask them to share your bio page link in their posts—it’s a quick way to get new visitors. If you go to events or hand out business cards, turn your bio page into a QR code. People can scan and visit your page instantly. Many bio page tools offer a QR code generator, or you can make one with a free online tool.
When to Update Your Bio Page
Your bio page should change when your content or goals change. Treat it like something you update, not just set up once and forget. Update your page whenever you launch something new. If you drop a new product, add a link to it and move it to the top. If a link stops being useful, like a sale that ended or a collab that’s over, remove it right away. This shows your followers you’re active and paying attention. Some people update their bio page daily if they post new content every day. Others do it weekly or monthly. Pick a schedule that fits your style, but check your bio page at least once a week to keep it fresh and relevant.
Common Questions About how to create a bio page
Why do I need a bio page?
A bio page lets you share multiple links from one spot on social media. This way, your audience can easily access all your content, products, and channels. It helps you guide followers to what you want them to see most.
Can I make a bio page for free?
Yes, many platforms offer free plans to create a bio page. These tools typically provide features like adding links, customizing design, and basic tracking without any cost. You can get started right away without paying.
What links should I put on my bio page?
Include links to your most important content, such as your latest video, online shop, or blog. Also, add ways for people to connect, like your email list signup or another social media profile. Prioritize links that help you reach your current goals.
How often should I update my bio page?
Update your bio page whenever you have new content or a new offer to promote. For active creators, this might be weekly or even daily. At a minimum, check and refresh your links every few weeks to keep them relevant.
Getting Started: Make Your Bio Page Today
You now know how to create a bio page from scratch. You understand what a bio page does, how to choose the right tool, and how to add and organize your links. You also know how to track your results and avoid mistakes that hurt your clicks. Your next move is easy: pick a bio page tool and create your free account now. Spend five minutes setting up your profile, adding your first three links, and picking a look that fits your brand. Then copy your new URL and paste it into your Instagram, TikTok, or YouTube profiles. Your bio page will be live before you finish your next cup of coffee. After your page is up, check your analytics for a week. See what links get the most clicks and use that info to plan what you share next. Your bio page isn’t just a one-time project. It’s a tool that grows and changes with you as your audience and goals evolve. Start simple, watch your results, and update as you learn what your followers want most.